Monday, July 7, 2014

A lull in the bathroom storm...

While we pause in the bathroom demolition and wait for the next stage called "dismantling the current plumbing", we decided to take a day (or two, or three) to tackle our summer to-do list.  Maybe your summer to-do list is filled with fun things like:

  • go to the beach
  • go on vacation
  • go to camp
  • have a cookout
Our to-do list has some little gems on it like:
  • rip apart three more rooms
  • throw the stuff that was in the rooms everywhere
  • walk around in a dust cloud for eight weeks
  • finish painting the side of the house
  • finish painting trim on the front of the house
  • re-order window grills that some dummy (me) broke three years ago
  • re-order window screen that some dummy (husband) tore when replacing front siding
I will stop there...you get the point.

This past weekend, while also celebrating the 4th of July (on the 5th of July) we managed to get the first coat of paint on the west side of the house.  We actually have replaced all the windows on that side of the house and all the siding, but you can't tell.  You can't tell because the siding came primed in gray which blends with the rest of the existing house.  We could have had it primed in tan to fool you that it was finished, but that cost more money, so gray it is.

Here are some pictures of the progress.  We need to do a second coat and then all the trim work, but now it looks like we DID SOMETHING!!
The west side with new siding...but you can't tell!

The paint crew - they lasted about 15 minutes...

You want help...we'll give you help...be careful what you ask for!

It is a family project. T said "thankfully it's the back side of the house"

The master painter, inspecting the work...

And body coat #1 is done!


Friday, July 4, 2014

The Bathroom Floor

The bathroom floor unfortunately deserves a post of its own.  Whomever installed the tile, did a good job. The flooring tile pried off fairly easily with a hammer and a crowbar.  Underneath was a thick layer of adhesive plaster that the tile was set in.  It was level and seemed to have been poured as one side was thicker than the other.  Under the plaster was a thick layer of plywood.  The trouble with that is that it was nailed and screwed down in random constellations.   You could not see where the nails/screws were because they were covered in the white plaster.  It took about FOUR hours demo day five to pry up the floor and it came up in small splinters.  We still have a corner to go over by the toilet (the tub is going to push back against the taller corner wall.
The bathroom floor with tile being removed

Tile removed, down to adhesive
Prying up the plywood sandwich


Demo Day Four...

Welcome, come on in...

Trying to catch insulation as it falls out of the walls from the ceiling
Demo day four was spent upstairs, mainly in the bedroom.  I thought I hated dusty horse hair plaster until I encountered itchy foul rock wool insulation.  I don't even have words for how I feel about that!

This demo job was disgusting.  It was hot outside. We were covered in plaster dust.  The ceiling was full of loose insulation that had been used by mice for years as nests and toilets.  The smell was awful.  And it itches.

I had to keep running my arms under water to try and remove the particles.  We should have had long sleeves tucked into our gloves.

It took all day to chuck lathe out the window, haul to the burn pile.  We started filling buckets with plaster and T hauled them down the stairs and out to the dumpster.  After about the 20th trip, we just started chucking the plaster out the window too.  We had buckets set up below, but a lot missed.  We also filled bucket after bucket of insulation and hauled those down to the dumpster.  At least those were lighter.

Here are the fabulous surprises that we found:

  • The outer walls had insulation!  Some of it was moldy though as moisture seems to be getting in from outside.
  • We found an inscription in the wall from the Chalifoux's in 1973 which must be when the bathroom was created upstairs See it Here
  • We found the original divider between the two rooms (the bathroom was created from taking space from each upper bedroom)
  • Mice skeletons and fully mummified mice carcasses covered in what looks like creosote (found near the chimney)


What a dusty mess!

The back wall with funky electrical wires - some live and dead-ended in the wall
 If I NEVER EVER  have to demo any upper room with horse hair and insulation again I would be happy...  Unfortunately, we still have two bedrooms and a hallway to deal with (not including the back part of the house)...
The insulation and cobweb filled ceiling

Bathroom sink vent
 The husband also wanted to rip out the hallway over the stairs but I talked him out of it.  We have just created months (years?) of work to now finish these rooms and we still would have to demo the upper hallway and two bedrooms so if we couldn't finish the job I didn't want any more mess!!!

I have enough mess.  Almost a week later, I am still dusting and sweeping and vacuuming up plaster dust. Fun.
The double layer ceiling in the bathroom - gutting around the tub

Removed outer wall leaving angled sink and tub for now...

More of the ceiling...

More of the wall

more of the gutted walls

The EVIL ceiling

The gigantic light fixture

More ceiling

The outer wall


Bathroom ceiling and chimney that runs through it

The MESS!!!!

More of the itchy awful mess...

And still more - this all fell out of the ceiling from the attic

What didn't fall and had to be knocked down with a broom...

Bathroom ceiling

Wednesday, July 2, 2014

Demo Day Trois...

Demo Day Three consisted of the dining room.  I know, some thought this was the nicest room in the house. Alas, no longer!  I have to say that I hate horsehair.  It served its life of 114 years, but it is so dry and crumbly, it falls apart in your hand and has become a permanent part of the wall paper.

Yes we did put up plastic and attempt to seal off the room, but the fine dust makes its way everywhere anyway.

Dining Room before

More dining room BEFORE

Dining Room interior wall BEFORE

A close of of the wallpaper which had faded to a preppy pink and mint green...

The wallpaper underneath the wainscoting

What was under the wainscoting on the wall that backs up to the kitchen

The 1970s wallpaper under the "wainscoting".  The kids wanted to keep it!

114 year old horse hair plaster ugh.

The hauling crew...transporting wood lathe and trim boards.

The "beams" are actually boards sandwiched together and difficult to remove!
The gutted and very dusty room...

Funky wiring - you can see an old doorway that went into a bathroom that was carved out of the kitchen space.

More dusty dirty house.


We did find two interesting things in the ceiling...
U2?  

1980s clearly...not sure who...

Tuesday, July 1, 2014

Outdoor Temporary Shower...

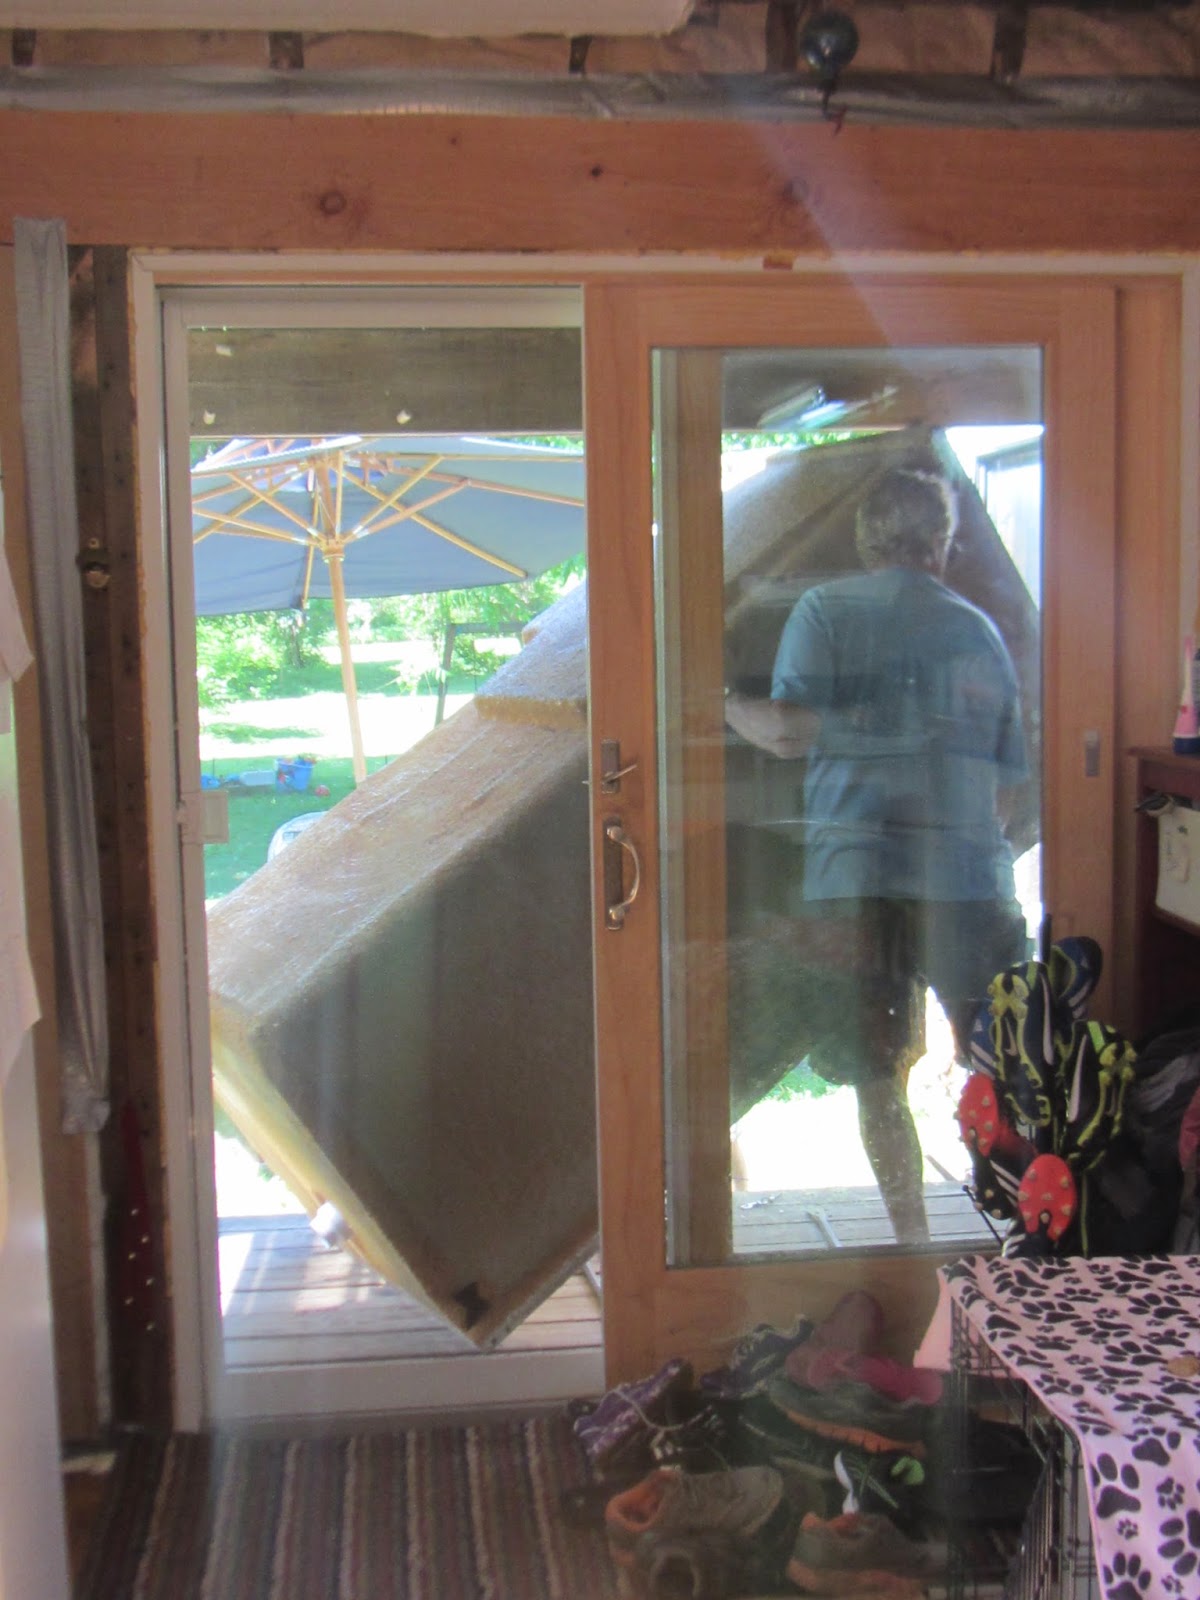
Wrestling the shower into place on the back porch

And it fits!
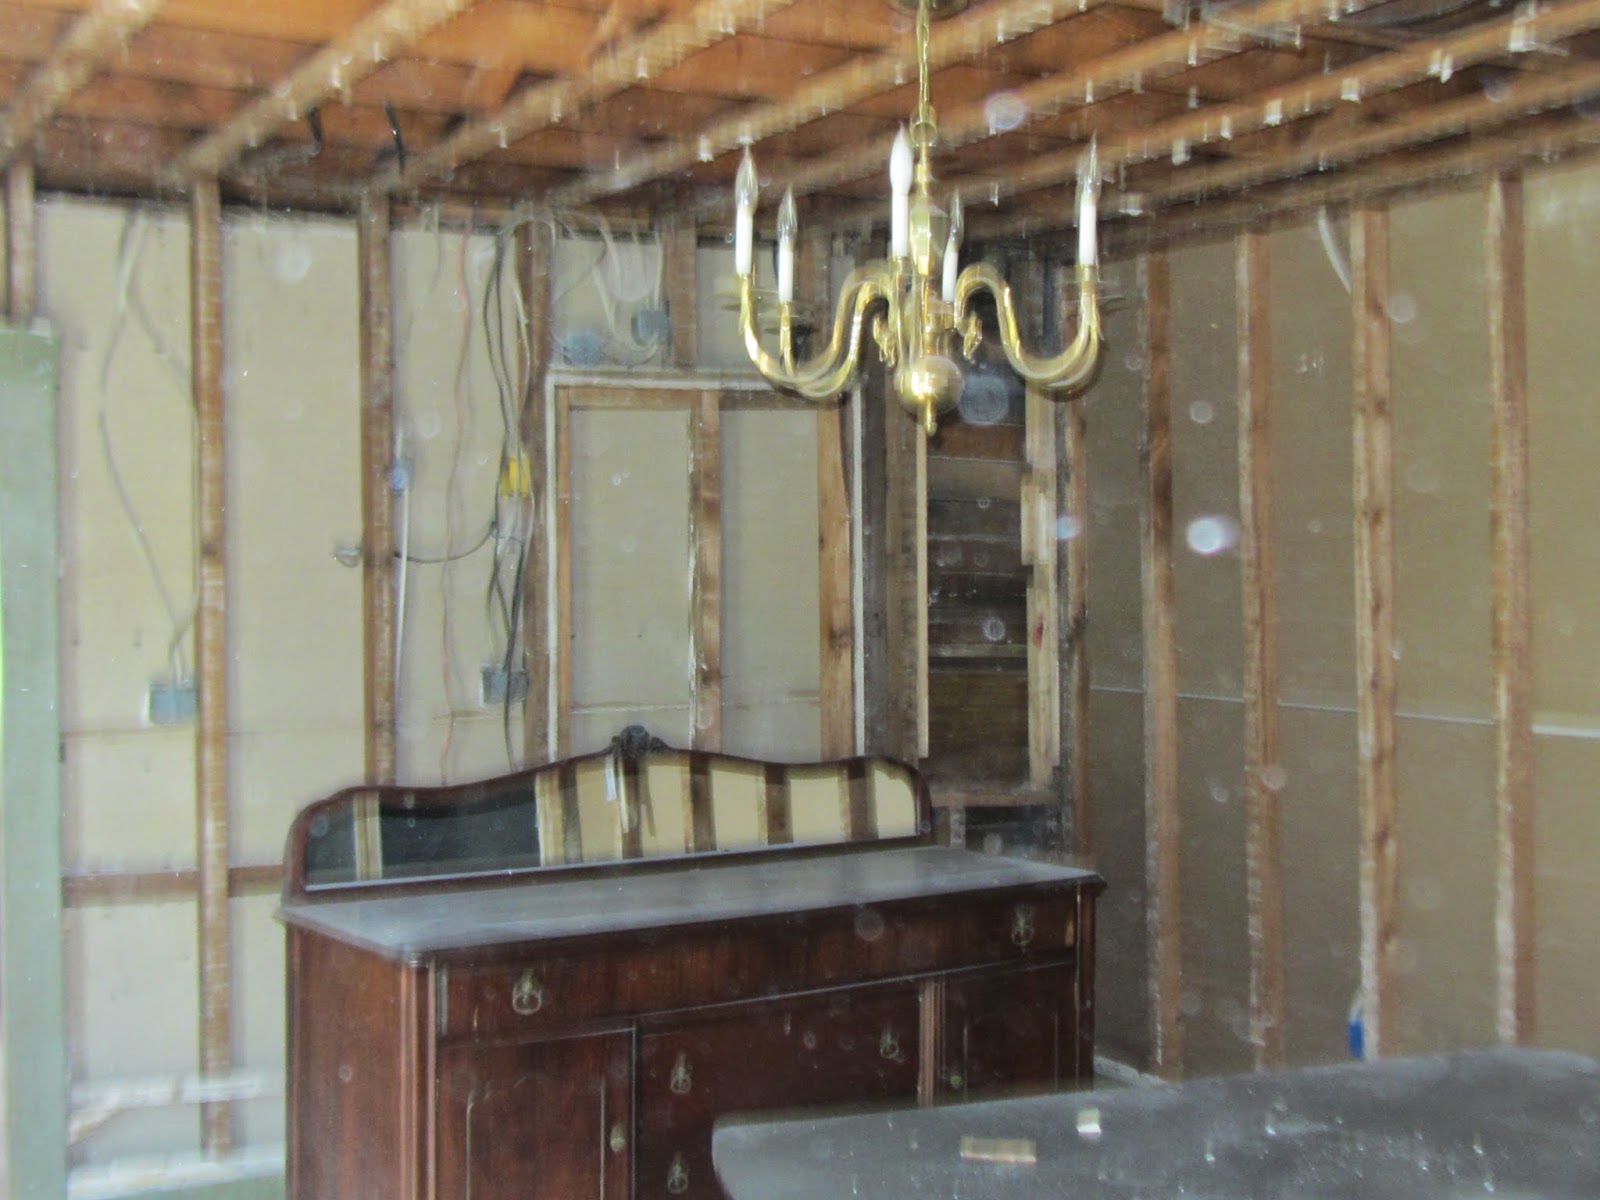
When you dismantle, and by dismantle I mean gut down to the studs, the only full bathroom in your house, temporary measures must be taken to ensure members of your family are still able to bathe.  Believe me, the children of this household would happily go the entire summer without touching a bar of soap. It wouldn't be quite so joyous for the adults.

We intentionally timed this renovation during the summer months when an outdoor shower is ideal. And yes, we are hoping to complete the project, at least to the stage of being able to shower indoors again, before fall, when an outdoor shower becomes not quite as refreshing.

I have to take credit for the location of the shower.  It is on the porch, but steps outside the kitchen door and it FIT.  The location does require disrobing outside the glass slider door, on the porch, but the location is out of eyesight of the neighbors. You might want to stay out of the kitchen during evening bath time!

The children are enjoying showering outside on the deck and my youngest couldn't wait to be the first to try it out.

During this past weekend amid dirty, itchy demo work it was a life (and skin) saver!  Much, much more enjoyable than our current bathroom, even in its pre-demolition state!

I highly recommend installing one.  You don't know what you are missing!


The view from the back porch